The start is very easy so let’s go straight to the section where you have already created your search engine and given it a name. As you can see in the picture below, the name of the search engine in this example is “MySearch”.
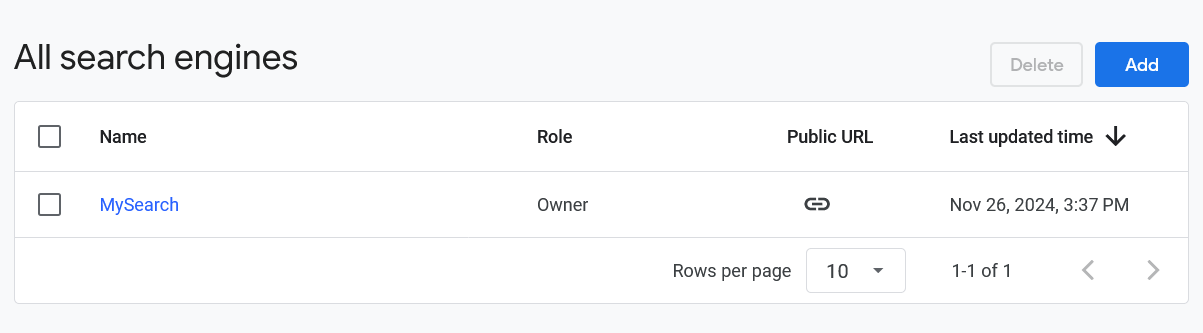
Click on that and you will end up in all the configurations as you can see below. Notes: changes you make will be saved automatically so there is no save button. We can see that Google, as usual, makes things way too complicated and most settings can simply be ignored.
 +
+
As you can see above it all starts with the overview. If you want, you can add a description but you can also skip that. You can use the code below the description but that is only necessary if you want to add a Google search page to your website which is not required for the plugin. So, basically, you can ignore the code. The search engine ID is important because you need that number for the plugin settings. So make a note of that. The public URL that follows below your search engine ID (which looks like https://cse.google.com/cse?cx=your id), should be used to test your search engine. You do this by clicking on the URL and then use some search terms to check whether you get relevant results or not. Of course you shouldn’t do that now but later when you have finished all the settings so, for now, we skip testing. Keep in mind that this search engine, which is basically intended for internal searches on your website, can, by exception, produce irrelevant results. We have already informed Google about this but have not yet received an answer from them. But, overall, the search results are very good so there’s no need to worry about that.
As you can see in the search features image above, you have to search the entire web. The region has to be set to an English speaking country so that would either be the U.S., U.K., Australia, New Zealand, Canada, or Ireland. This plugin is suitable for the English language only. The next setting is about region restricted results: enable this so the engine will only search in your country. Sites to search, sites to exclude, Upload/Download Annotations in XML files and Upload/Download Search Engine context in XML files can all be ignored. Set the language to English, ignore layout and theme and skip the ads.
Now before we continue the settings on the basic overview page, let’s first scroll up where you can see the button that says “All search features settings”. Click on it. As you can see on the image below, you can skip everything on this page except for the last part that says “Advanced Settings”. Don’t change anything there, except for the language which should (again) be set to “English” (no idea why Google wants to know this again since the language was already set) and set the number of search results to 10.

So, you have saved all the basic settings automatically. However, as you have been able to notice, Google forces you to go back and forth and up and down. Quite unhandy for users. So, let’s now go back to the overview (the second image on this page) and click at the bottom on Custom Search JSON API Limit of 10,000 queries per day – get started. See for this the image below this paragraph. You now enter the chapter ” Custom Search JSON API: Introduction”. This section is where you will be enabled to use the Google API in collaboration with the Google search engine you just created. An API (Application Programming Interface) is a set of rules and tools that allows different software applications (in this case your custom search engine and the plugin) to communicate and share data and/or functionality with each other. It acts like a bridge between programs, enabling them to work together seamlessly. Click on “Programmable Search Engine (free edition) users: get a key”, “select project” (which is the name of your search engine) and click after that on “show key”. Keep this key in a safe place because you will need in the plugin settings. Assuming that the API functions good, the only thing you should do now is to test your search engine by making use of the URL in the overview (second image) which looks like https://cse.google.com/cse?cx=your id. Once you are satisfied with the search results, you can finally proceed by going to the plugin settings.

That’s all and good luck folks!